Showing posts with label green. Show all posts

Friday, January 31, 2014

Let's get Sketchy Part 3!

Hi Scrappers! I joined the last sketch challenge for January by Let's Get Sketchy. It's getting really cold outside and I wanted to create a very fresh and springlike layout. Take a look:


The background paper is from the Prima art journal pad.  I spritzed it a lot with different shades of green and yellow glimmer mists, used some green Gelatos and some golden distress paints for a mixed media look.


You can see the stitched lines for my journaling and some lace ribbon.


I punched out these butterflies out from light chipboard and heat embossed them with my patina powder. Besides I added some dots with stickles.


This was the sketch I used: 


Thank you for stopping by!


Friday, January 24, 2014

Let's get sketchy! :)

Hi everyone! It's time for another challenge and some bold colors. Today I chose a sketch by Let's Get Sketchy. The pictures are from a day in a theme park near where we live on our second anniversary. A great day :)


I used my new Gelatos for a little bit of shading on the background 
(well I just couldn't resist to buy them.... :-) ) 


The doodles are made free hand with Liquid Pearls.


I made the title with my label maker from the SMASH collection by K&Company. 

And that's their sketch: 


Thank you for stopping by! :) 


Monday, January 6, 2014

ScrapFriends sketch challenge #21

I'm so in the mood to scrap! I finished another sunny layout, which was inspired by a sketch challenge. It's the January challenge from Scrapfriends and it was a lot of fun to finish it. Just as some weeks ago I used bright yellows and greens for this layout. We had some nice sunshine today, maybe that's the reason why I wanted to use these colors :) The picture is from 2011, when I did my first hiking-tour with my best friend. We had a great day together and since this time, I really enjoy hiking and exploring nature! Besides, there isn't any missing "e" in my title, it's just the German word for nature ;) 


I used different techniques for the background: water-coloring, misting, masking with modeling paste and masking with distress ink. On two spots I stitched a circle with baker's twine and the frames behind the picture are made out of different ribbons.


This is their cool sketch for January:


Thanks for reading and wishing you a fabulous week :)


Wednesday, January 1, 2014

Scrap & Music #18 - Nothing Else Matters

Another beautiful sketch provided by Scrap & Music! This time they choose a song by Metallica - Nothing Else Matters. I took two photos from our holiday in Egypt. We were snorkeling a lot and took many pictures under water. Finally time to get some of them scrapped! Here's my take on their sketch:


I took different shades of green/blue and beige for the papers to match them with the pictures. I think they look a little bit like the color of the ocean. Behind the clustered papers I applied a layer of white crackle paint and covered it with a little bit of distress ink after it was dry. After that I spritzed a bit of different mists and sprays. 


At the edges of the banners I used a little bit of embossing powder to give it a more interesting texture. 


I had no more space for my journaling, that's why I decided to make a "hidden" pocket tag by making a cut behind some of the layers.


On this picture you can see the texture of the crackle paint.


As title, I took the "life is ours" lyrics from the song.


And this is the sketch I based my LO on: 


Thanks for stopping by :) 

Wednesday, December 25, 2013

Christmas 2013 - Sketchabilities # 105

A very merry Christmas to you all! 
We had a fabulous day together with the family and a great meal. Just scrapped our decorated living room in the latest sketchabilties #105. Here's my take on their beautiful sketch:


I wanted to use some classic Christmas colors (green and red) and mix it with a rather unconventional color (black/grey). I used some fine red glitter to make it even more festive. On the background I used some black gesso with a flourish mask and sprayed some glimmer green over that. 


For the banner I used three different green papers and layered them. On top of them I used liquid pearls (avocado) and distress stickles (shabby shutters).


I covered the wooden snowflakes with my "lime" Maya Metallic mist and added some glittered brads.


That's their sketch #105:

Wishing all of you a merry christmas and some blessed days :) 
Thanks for stopping by and have some happy holidays! 


Saturday, December 14, 2013

Let's go hiking

Hey Roadies, tonight I'd like to share a new layout with you. The pictures are from one of our last hiking-trips this summer. We had a great day seeing all these beautiful waterfalls while being quiet alone in the forest. I created this layout for two challenges. The sketch is provided by ScrapFriends Challenge #20  and in the meantime I used the Challenge #5 December tic tac toe board from 1 2 3 Get Scrappy.


I had the background paper for quiet a long time in my stash and didn't know what to use it for and finally I found a theme what matches perfectly. On the background I used a lot of different techniques: painting with gesso and acrylic paint, masking, spritzing, smearing inka gold and stitching.


Here you can see the glitter alphas I used and the small fuzzy cutting I did for this project.


For the frames of the photos I used an old map, which is quiet good matching with my theme as I think. On that layout I used my first bottle cap as an embellishment. I cut out a circle of my map, glued it down and threw some clear UTEE in the cap. After heat setting I glued the bottle cap on my layout. 


After having applied a layer of gesso and acrylic paint I did some masking. I took Inka Gold (in silver) and painted the embossed parts lightly with my finger. Every picture "hangs" like a painting on my layout. 


Behind every picture I used some lace trim to give it a more layered look. Besides, I glued my subtitle on a piece of vellum and added some flowers. On the last detail picture you can see the stitching quiet well, too. 


And that's the sketch and the tic tac toe board I used as inspiration. I used a diagonal row from the board: eyelets, baker's twine and the color green. 


Thank you so much for stopping by, and it would be great if you become a follower of my blog :)


Saturday, December 7, 2013

Sketchabilities Challenge #104

Hey Scrappers! Time for another Sketchabilities Challenge, this time the #104:
For this layout I took a picture of my living room and used bright greens and yellow as color scheme. 


The butterfly is dry-embossed from the backside and then lightly covered with distress ink and inka gold


Underneath the layering of the folder tabs and the picture I used different Maya Road metallic sprays and molding paste to give it more structure. At the beginning I wanted to stitch the yellow paper on the background, but I thought that the wholes from the needle were cool, too :) 


To make the banner more interesting, I put a green eyelet through every piece and used foam dots to glue them down.


Thanks for stopping by and have a great weekend! :) 


Wednesday, October 16, 2013

Finished Mixed Media Canvas #GerryvanGent

Hey Scrappers!

Today I finished - just as promised - my mixed media project from the workshop last weekend with Gerry van Gent. For the base we took a "canvas board" (don't know the exact description), and prepared the edges with some molding paste for more dimension. After heat-setting and distressing the edges, we started with the background. We used some papers from the "Lyric Collection" by Prima Marketing, as well as some Prima stamps and flowers.


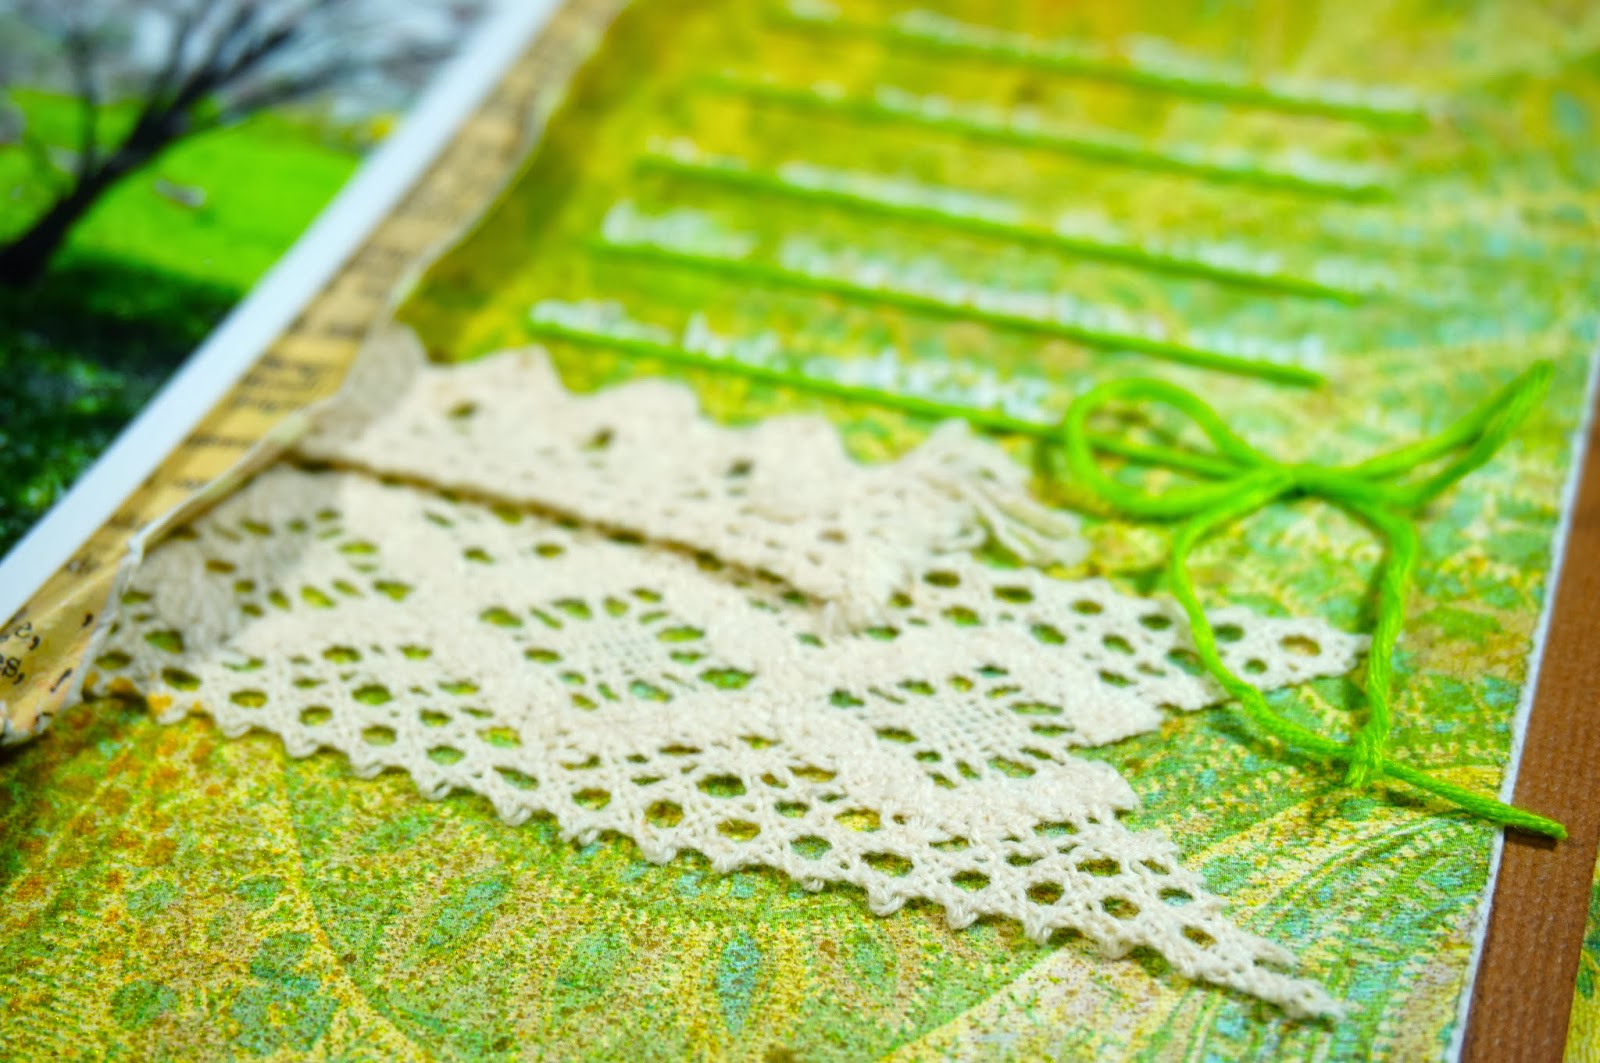
I just layered some distressed paper pieces and placed my photo on top of that. I like the result, as it looks really vintage and shabby. Gerry gave us another good tip for bringing some more dimension to your projects as you can see in the close-up:


these clocks are just stamped with Archival Ink on plain cardstock and punched out with a circle punch.  After that I dry-embossed the clocks from the back with an embossing pen on a soft foam-mat (like the piercing-mat from "sew easy"). This gives you just the dimension you want. After that I fixed every clock with a few foam-squares on the layout. An easy way to create your very own embellishment!


In the last picture you can see a cute heart-lollypop. I also made this by myself; I'll explain how:
You'll need a toothpick, some paper scraps, a little paper-punch, some glue and some glitter if you like it shiny.
First punch out two small paper-pieces with your favorite punch. I like to use some small hearts or stars for the lollypops (here I used the small heart-punch from stampin' up). After that, you glue the two paper pieces together, with the toothpick in between. If you don't like glitter, you're already done, it's just that easy! If you want to get it shiny, just cover one side of the paper with some liquid glue, like glossy accents or tacky glue from Aleene's. If you don't want to have glitter anywhere else on your project, let the glue dry and cover your glitter with another layer of transparent glue like glossy accents. It will look like an epoxy-sticker.

That's it for now! I hope you like it!